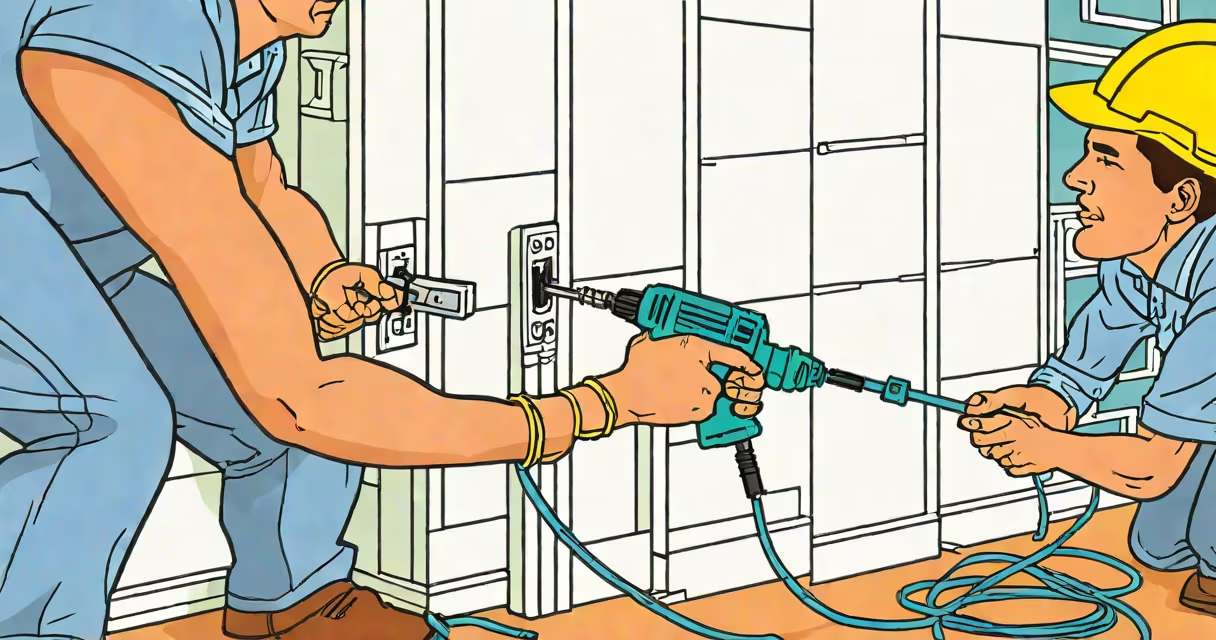
Installing ethernet cable in house means running twisted-pair cables-typically Cat6 or Cat6a-from a central networking hub to individual rooms or devices to provide wired internet connections with lower latency and higher reliability than Wi-Fi.
This process involves planning cable routes, drilling holes through walls or floors, terminating cables with RJ45 connectors, and connecting them to switches or routers. It's essential for users who prioritize consistent performance, such as gamers, remote workers, or those streaming 4K video without buffering.
Proper installation avoids signal degradation, interference, and future maintenance issues. It requires tools like a fish tape, drill, cable cutters, and a crimping tool. Cables must be routed away from power lines and sharp bends to maintain signal integrity.
Copper-based ethernet cables transmit data using differential signaling across four pairs of insulated wires. Each pair twists at a specific rate to reduce electromagnetic interference. When terminated correctly, they enable speeds up to 10 Gbps over Cat6a cables.
The system begins at a central location-usually a utility closet or basement-where a network switch or router is installed. From there, cables run through walls, attics, or under floors to endpoints in bedrooms, offices, or entertainment centers. At each endpoint, the cable is connected to a wall plate or patch panel.
For optimal performance, cables must be pulled straight, not bent sharply. A bend radius smaller than four times the cable diameter causes impedance mismatches and signal loss. For example, a standard Cat6 cable (6 mm diameter) must not be bent tighter than 24 mm around a curve.
Not all ethernet cables perform equally. The most common types used in residential installations are Cat5e, Cat6, and Cat6a. Each supports different bandwidths and maximum lengths.
| Cable Type | Max Speed | Max Distance | Use Case |
|---|---|---|---|
| Cat5e | 1 Gbps | 100 meters | Basic home networks, older devices |
| Cat6 | 10 Gbps (over 55 meters) | 100 meters | Modern homes, gaming, 4K streaming |
| Cat6a | 10 Gbps (full 100 meters) | 100 meters | Future-proofing, high-density setups |
Cat6 cables have tighter twists and a plastic separator between wire pairs, reducing crosstalk. Cat6a adds a foil shield around each pair and an braided shield, making it suitable for environments with high electrical noise.
For in-wall installations, use plenum-rated cables (CMR or CMP) in areas like attics or drop ceilings. These materials resist fire and produce less smoke when burned. Non-plenum cables (CM) are safe only in accessible spaces like behind furniture.
Many homeowners assume that any ethernet cable will work the same way. This is false. Using Cat5e in a room with a 10 Gbps router limits speed to 1 Gbps, even if the router supports faster rates.
A frequent error is coiling excess cable near a device. Coiled cables create magnetic fields that induce noise and degrade signal quality. Instead, leave slack in a loose loop or store it in a cable management box.
Another mistake is running ethernet cables parallel to power lines. Even a few inches of proximity can cause crosstalk due to electromagnetic radiation. The National Electrical Code (NEC) recommends keeping data cables at least 6 inches away from power lines when they cross, and 12 inches when they run parallel.
I once installed a Cat6 cable in a client's home that failed during testing. After checking the termination, I discovered the installer had used a punch-down tool incorrectly-two wires were swapped in the jack. The result was intermittent connectivity. A proper termination uses a tester like a Fluke DTX-1800 to verify continuity and signal strength.
Consider a 2,000 sq ft house with three bedrooms, a living room, and a home office. The goal is to connect each bedroom and the office to a central switch in the basement.
Step 1: Plan the route. Measure distances from the basement to each room. The longest run is 35 meters to the master bedroom. Cat6 is chosen because it supports 10 Gbps and handles longer runs better than Cat5e.
Step 2: Drill holes. Use a stud finder to locate wall studs. Drill 1/2-inch holes between studs, avoiding electrical boxes. Run a fish tape through the wall cavity to pull the cable.
Step 3: Pull the cable. Attach the cable to the fish tape and gently pull it through. Avoid tension-excessive force can stretch or kink the internal wires.
Step 4: Terminate. Strip 1 inch of sheathing. Arrange wires in T568B order: white/orange, orange, white/green, blue, white/blue, green, white/brown, brown. Insert into an RJ45 connector and crimp with a crimper.
Step 5: Test. Plug the cable into a network tester. A working connection shows lights in sequence. If not, recheck the wire order and crimp.
After completing all six runs, connect the cables to a 12-port switch in the basement. The network now supports wired access to all rooms.
If your home has drywall, plaster, or tile walls, drilling may require specialized tools. Plenum-rated cables must be pulled through enclosed spaces safely-improper handling risks fire hazards.
For multi-story homes or complex layouts, a structured cabling system with patch panels and labeled runs improves troubleshooting. Professionals use labeling systems like "BEDROOM1-CAT6" to track each cable.
For those building a new home, consider installing conduit during framing. Conduit allows easy replacement of cables later without tearing down walls. The International Building Code (IBC) requires conduit in new construction for accessible wiring.
Even experienced DIYers sometimes skip testing. A single miswired pair can cause packet loss. Always test with a cable analyzer before declaring the job done.